
Understanding the Fundamentals: What is VPS Hosting?

When stepping into the world of web administration and site development, choosing the right infrastructure is a pivotal milestone. For many growing websites, shared hosting eventually becomes too restrictive, yet dedicated servers feel overly complex and expensive. This is where the middle ground emerges, offering an ideal balance of power, isolation, and cost-effectiveness. To navigate this landscape successfully, beginners must first grasp the core architecture behind the technology, as outlined in comprehensive resources like this Getting Started with VPS Hosting guide. Fundamentally, VPS stands for Virtual Private Server and usually refers to a virtual machine running on a larger physical host. Unlike traditional web hosting environments where hundreds of users share the exact same operating system resources and limits, a virtual private server carves out an independent, dedicated slice of a powerful hardware node.
To understand how this environment is brought to life, we need to look under the hood of modern data centers. A hosting provider usually creates VPS instances with a hypervisor or virtualization layer that partitions one physical machine into separate virtual servers. The hypervisor—sometimes referred to as a Virtual Machine Monitor (VMM)—is a specialized piece of software, firmware, or hardware that creates and runs virtual machines. By sitting directly on top of the physical hardware (bare-metal hypervisor) or running on top of an existing operating system (hosted hypervisor), it abstracts the physical CPU cores, RAM, and storage drives. It then allocates specific, guaranteed portions of these resources to individual virtual containers. Consequently, even though your virtual server shares a physical chassis with dozens of other virtual machines, your environment remains entirely isolated. This architectural brilliance ensures that traffic spikes or resource exhaustion on a neighboring virtual server will not directly impact your site’s availability or loading speeds.
As you explore various hosting plans and technical documentation, you will often encounter terminology that sounds similar but carries distinct meanings. It is helpful to clarify the distinction between a vps server as the virtual machine itself and vps hosting as the service that makes that VM available to the customer. When industry professionals talk about a “VPS server,” they are strictly referring to the software-defined virtual machine—the encapsulated environment complete with its own virtual CPU allocation, memory space, disk image, and operating system kernel (or container namespace). On the other hand, “VPS hosting” encompasses the entire commercial and technical service package. This includes the underlying physical hardware maintenance, network infrastructure, redundant power supplies, data center cooling, automated backup systems, support teams, and the control panel interfaces that allow you to reboot, reinstall, or monitor your virtual machine with a single click.
To make this distinction even clearer, it helps to examine how a virtual server stacks up against other hosting tiers in terms of performance isolation and administrative control. Beginners often wonder how virtualization differs fundamentally from the shared hosting accounts they may have previously used for small blogs or portfolio pages.
| Hosting Type | Resource Allocation | Security Isolation | Administrative Access | Typical Use Case |
|---|---|---|---|---|
| Shared Hosting | Pooled among all users on the server | Low (shared user space) | Minimal (control panel only) | Personal blogs, small static websites |
| VPS Hosting | Dedicated, guaranteed slices of CPU/RAM | High (virtualized boundaries) | Full (Root / Administrator access) | Growing businesses, medium e-commerce, custom apps |
| Dedicated Server | 100% of physical hardware dedicated | Absolute (physical isolation) | Full (Root / Administrator access) | Enterprise applications, high-traffic platforms |
This table illustrates why virtual private servers have become the industry standard for expanding digital projects. When building out a serious web presence, especially if you are evaluating options detailed in resources like an Ecommerce Hosting guide, having root access to your environment changes everything. You are no longer constrained by the pre-installed modules, PHP limits, or security restrictions imposed by a shared hosting administrator. Instead, you can install custom software stacks, configure advanced caching mechanisms, optimize database queries, and implement stringent firewall rules tailored specifically to your application’s unique security requirements.
Ultimately, diving into virtual private server environments bridges the gap between plug-and-play simplicity and absolute hardware control. Whether you are migrating a resource-heavy database or launching a custom web application, understanding that your virtual machine operates as an isolated entity backed by enterprise-grade hypervisor technology empowers you to configure your hosting environment with confidence. As you continue your journey, keeping these foundational concepts in mind will help you select the right configuration, manage your resources efficiently, and scale your digital infrastructure seamlessly as your audience grows.
How VPS Works: Isolation, Hypervisors, and Dedicated Resources

To truly understand why a Virtual Private Server represents such a monumental leap forward from basic web environments, you have to look beneath the surface and examine the architectural mechanics that govern modern server virtualization. At its core, a physical machine—often referred to as a “bare-metal” server—is a powerful collection of high-grade hardware components, including multi-core enterprise processors, error-correcting RAM modules, and enterprise-grade solid-state drives configured in RAID arrays. Without virtualization, this entire physical machine would typically run a single operating system, which is inefficient for hosting standard websites unless you are operating a massive enterprise platform. This is where hypervisors and advanced partitioning technologies come into play, transforming a single physical computer into multiple, fully functioning virtual servers.
The foundational technology making this possible is known as a hypervisor, or Virtual Machine Monitor (VMM). The hypervisor sits directly on top of the physical hardware (in a Type-1 configuration) or operates on top of a host operating system (in a Type-2 configuration). Its primary job is to slice the physical server’s resources into discrete, self-contained virtual environments. Each of these partitions acts as a completely autonomous computer. Through this orchestration layer, each VPS runs its own operating system, so the server can behave like an independent machine. Whether you prefer a popular enterprise Linux distribution like Ubuntu, AlmaLinux, or Debian, or even a specialized Windows Server environment, your virtual server runs its own kernel and manages its own boot sequence, updates, and software stack entirely detached from whatever operating systems your physical neighbors might be utilizing.
Crucially, this architecture ensures that a VPS is completely isolated from other users on the same physical server, meaning other tenants do not directly share your virtual environment. In a traditional shared hosting environment, hundreds of websites are crammed onto a single server and share the same web server software, the same PHP execution pool, and the same global configuration files. If a neighboring website on shared hosting experiences a massive security breach, suffers from malicious malware injections, or triggers a sudden surge in traffic that exhausts system memory, your own website will inevitably slow down or crash alongside it. Virtualization eliminates this vulnerability through strict software and hardware boundaries. Even if another tenant on your physical machine experiences a total system failure or gets targeted by a massive cyber attack, your isolated virtual container remains completely unaffected, maintaining steady uptime and robust internal security.
Furthermore, VPS hosting gives you dedicated resources such as CPU, RAM, and storage, rather than competing for them with all neighbors as in shared hosting. When you provision a virtual private server, the hypervisor allocates a strictly guaranteed slice of the physical hardware. For instance, if your hosting plan specifies 4 dedicated CPU cores, 8 gigabytes of RAM, and 160 gigabytes of NVMe storage, those exact resources are permanently reserved for your environment. They cannot be borrowed, throttled, or consumed by other users on the machine, no matter how heavy their workloads become. This predictable resource allocation is essential if you are managing high-traffic web applications, database-heavy platforms, or looking into the Best VPS Hosting for Growing Online Stores in 2026 where transaction speeds and checkout reliability directly affect business revenue.
To better visualize how these resource allocation tiers differ across the hosting spectrum, consider the following structural comparison:
| Hosting Feature | Shared Hosting | Virtual Private Server (VPS) | Dedicated Server |
|---|---|---|---|
| Resource Allocation | Shared pool, subject to “noisy neighbor” effects | Strictly guaranteed and dedicated CPU, RAM, and storage | 100% of physical machine hardware dedicated to you |
| Operating System | Shared OS environment with zero root access | Independent OS instance with full root/administrator privileges | Dedicated OS with complete bare-metal control |
| Isolation Level | Minimal; shared file systems and execution pools | High; hypervisor-enforced software and resource isolation | Complete physical isolation from other networks |
| Cost Efficiency | Extremely low cost, suitable for static blogs | Moderate cost, excellent balance of power and affordability | High cost, justified only by massive enterprise workloads |
This level of architectural control fundamentally changes how developers and system administrators deploy web applications. Because you enjoy root access and complete autonomy over your virtual environment, you can install custom modules, tweak web server configurations like Nginx or Apache, set up advanced firewall rules, and run background cron jobs without needing permission from a hosting provider. For beginners stepping up from basic plans, understanding these underlying mechanisms—from hypervisor partitioning to guaranteed resource allocation—makes it clear why virtual private servers provide the stability, security, and scalability necessary for modern digital projects. For a deeper technical dive into these foundational concepts, you can explore this VPS Hosting: A Complete A-Z Guide for Beginners – AZDIGI Blog, which outlines the evolution of server management, or consult a comprehensive breakdown like the VPS Hosting for Beginners: The Complete 2026 Guide to Your First server deployment to evaluate different virtualization types and management panels.
Comparing Hosting Tiers: Shared Hosting vs. VPS vs. Dedicated Servers
When embarking on a new digital project, selecting the right web hosting environment is one of the most critical foundational decisions you will make. The hosting landscape is broadly divided into three main tiers: shared hosting, Virtual Private Server (VPS) hosting, and dedicated servers. Understanding where VPS hosting stands in this broader ecosystem requires a careful examination of cost, performance, resource allocation, and technical control. VPS hosting is universally described as the ultimate middle ground between the budget-friendly limitations of shared hosting and the raw, expensive power of a physical dedicated server. By leveraging advanced hypervisor virtualization technology, a single physical machine is sliced into multiple isolated virtual environments, allowing users to enjoy guaranteed server parameters without paying for enterprise-grade hardware they might not fully utilize.
To truly appreciate this middle tier, it is helpful to look at the entry-level option: shared hosting. On a shared hosting plan, your website resides on a single physical server alongside hundreds or even thousands of other websites. All these accounts draw from a common pool of system resources, meaning your site’s performance is directly tied to the behavior of your digital neighbors. If a neighboring site experiences a sudden surge in traffic or a poorly optimized script consumes all available memory, your website may slow down significantly or even experience downtime. For absolute beginners launching a small personal blog or a static brochure site, shared hosting is often an adequate and affordable starting point, usually costing between $2 and $10 per month. However, as your digital presence expands, you will likely encounter the rigid boundaries of shared environments. You have virtually no administrative control, cannot install custom server-side software or modules, and must operate within strict security and resource limits.
This is precisely where transitioning to a virtual environment changes the equation. As explored in detailed analyses such as this beginners guide to VPS hosting, a Virtual Private Server gives you dedicated resources such as guaranteed CPU cores, dedicated RAM, and isolated storage allocations. You no longer have to compete with noisy neighbors for processing power. A VPS is heavily recommended for website owners, developers, and entrepreneurs who need significantly more control over their server environment, whether to execute complex automation scripts, install specialized caching tools like Redis or Memcached, or run custom applications that cannot function within the restricted confines of a standard shared server. Furthermore, if you are running an e-commerce platform that handles sensitive customer data and transactional traffic, moving up the ladder is often essential; you can read more about evaluating your options in this article on Shared Hosting vs VPS for a Growing Store.
At the opposite end of the spectrum sits the dedicated server. With a dedicated server, you lease an entire physical machine exclusively for your own use. This grants you absolute, unmitigated control over every single hardware and software component, from the operating system down to the BIOS settings. Dedicated servers offer maximum performance, bulletproof security isolation, and massive resource capacity. However, this power comes with severe financial and administrative drawbacks. Dedicated servers are exceptionally expensive, often ranging from $100 to well over $500 per month, making them overkill for startups, medium-sized businesses, or growing blogs. Moreover, they require advanced system administration expertise to manage security patches, hardware maintenance, and network configurations manually.
| Hosting Tier | Resource Allocation | Cost Range (Monthly) | Technical Control | Best Suited For |
|---|---|---|---|---|
| Shared Hosting | Pooled / Shared with others | $2 – $10 | Minimal (Control Panel only) | Personal blogs, simple portfolios, small static sites |
| VPS Hosting | Dedicated slices (CPU, RAM, Storage) | $10 – $80 | High (Root / Administrator access) | Growing e-commerce stores, web applications, dev environments |
| Dedicated Server | Entire physical machine | $100 – $500+ | Absolute (Hardware & Software level) | Enterprise applications, high-traffic portals, massive databases |
Cost considerations and resource scalability represent two of the most compelling arguments for adopting a VPS. While shared hosting is cheaper, its hidden cost is lost revenue resulting from poor performance and lack of scalability. Dedicated servers, while powerful, lock you into a fixed hardware tier that can be both expensive to upgrade and wasteful if your resource needs fluctuate. VPS hosting bridges this financial and architectural gap brilliantly. Entry-level VPS plans often start at around $10 to $20 per month, bringing enterprise-style isolation within reach of freelancers and small businesses.
Crucially, resource scalability on a VPS is remarkably seamless compared to physical hardware. If your website experiences seasonal traffic spikes—such as during holiday shopping periods or marketing campaigns—you can often scale up your RAM, CPU allocation, or disk space with just a few clicks inside your provider’s dashboard or via a quick request to support. There is no need to migrate your data to a new physical machine, reconfigure network cables, or experience prolonged downtime. For a comprehensive overview of how modern virtual environments manage these dynamic workloads, resources like this complete guide to virtual private servers outline how modern cloud infrastructure allows businesses to scale resources dynamically without renting or maintaining full physical hardware. This flexibility ensures you only pay for the exact compute power you need at any given stage of your growth, making VPS hosting a remarkably agile, cost-effective, and powerful stepping stone in the modern web hosting ecosystem.
Control and Flexibility: Root Access and Operating Systems
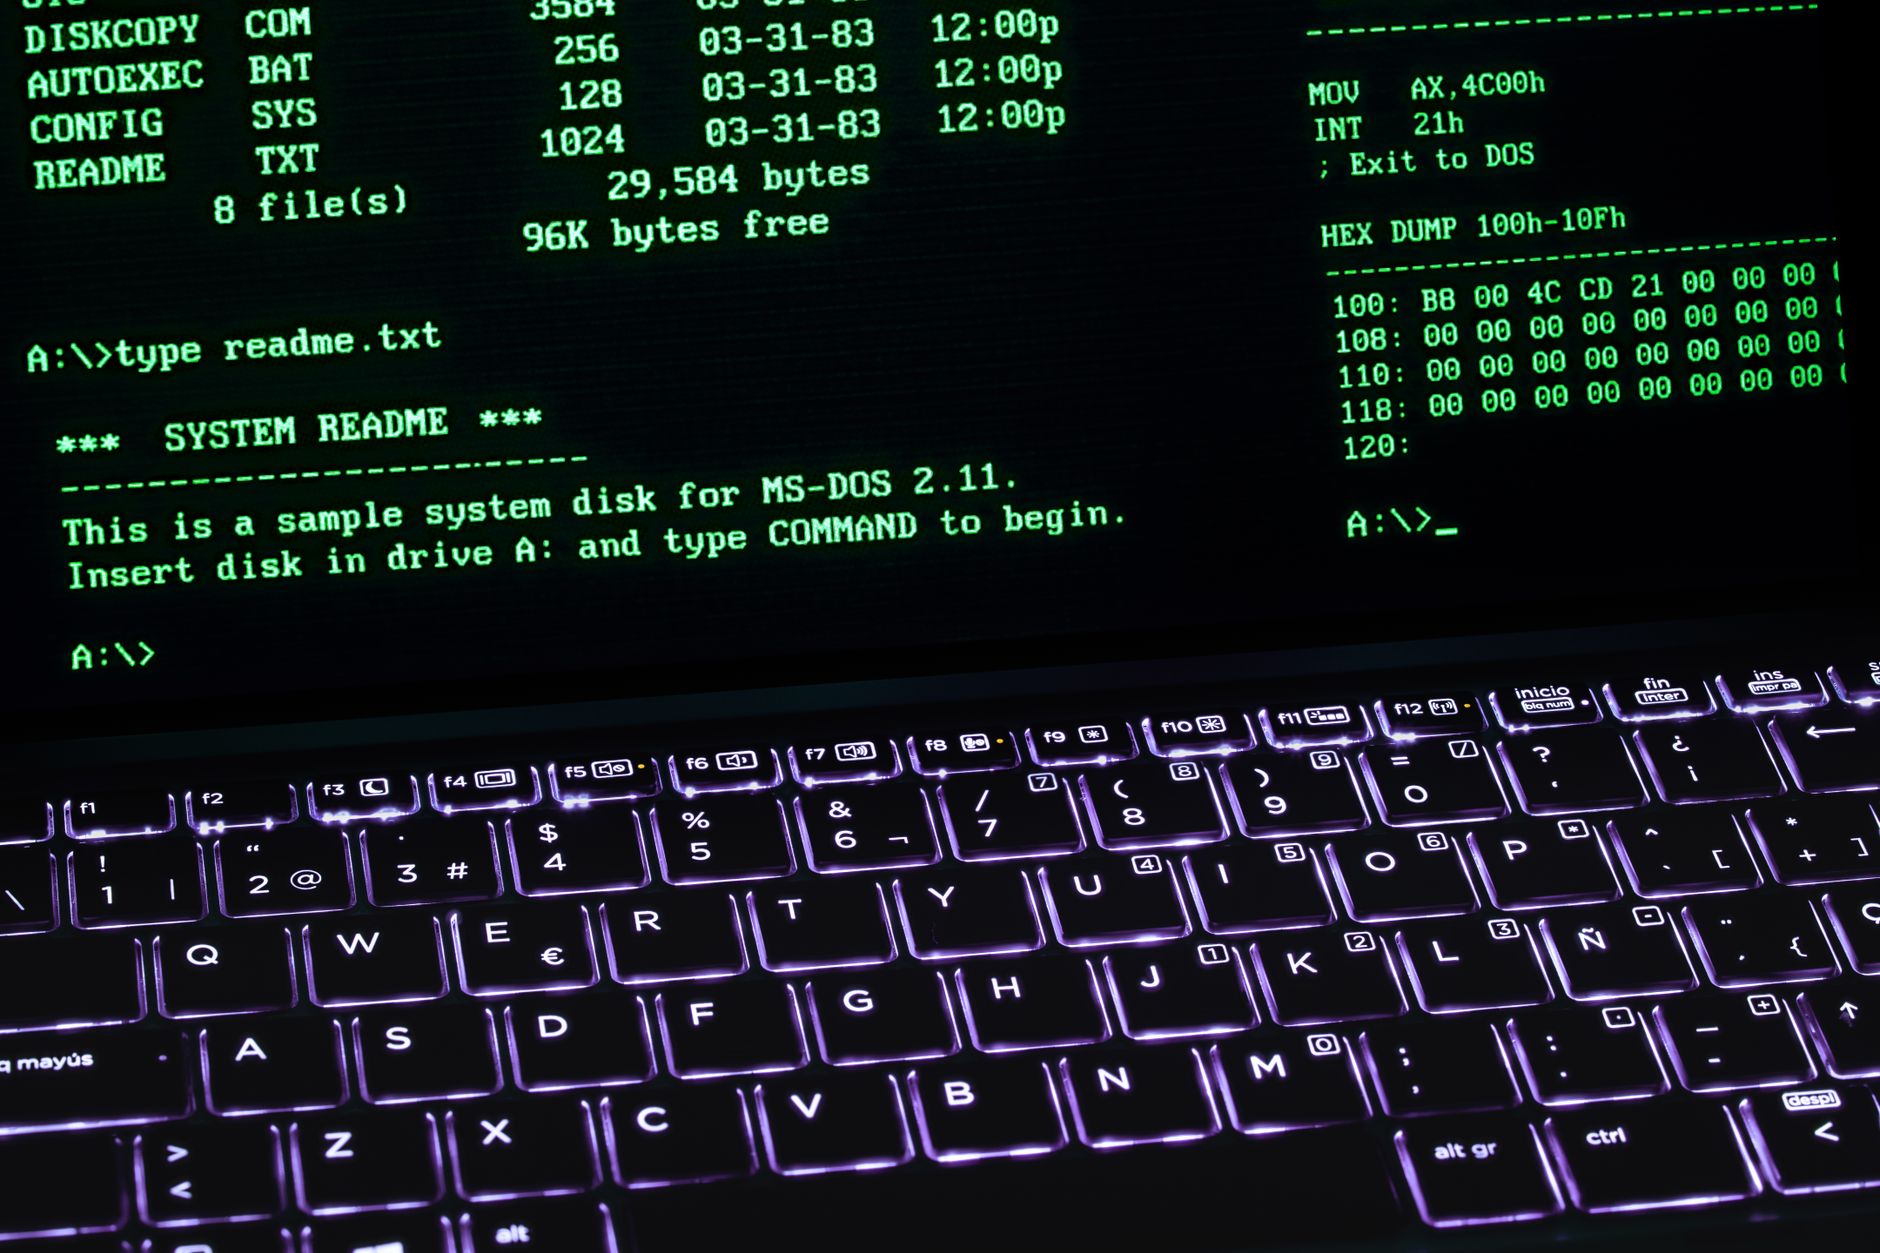
When transitioning from basic shared hosting to a virtual private server, the most immediate and profound change you will experience is the dramatic leap in administrative freedom. On a standard shared hosting plan, you are essentially renting a small, pre-configured slice of a massive server where hundreds of other users reside. Your hands are tied by strict server-wide security policies, locked firewall rules, and a pre-determined software stack chosen by the hosting provider. If your web application requires a specific version of PHP, a custom Apache module, or a specialized caching engine like Redis that isn’t installed globally, you will likely hit a brick wall. This is where the true power of a VPS server shines through, offering a middle ground that bridges the gap between affordable shared environments and expensive dedicated hardware.
At the core of this elevated autonomy is root access. Having root access means you are granted the highest level of administrative privileges—equivalent to the “Administrator” account on a Windows machine or the “superuser” account on Linux. With these credentials, you have absolute authority over your virtual environment. You can install custom software packages, modify core system configuration files, tweak kernel parameters, and open or close specific network ports through custom firewall rules. If you want to learn more about the initial provisioning steps to get these credentials working smoothly, you can consult a comprehensive VPS Hosting for Beginners: A Complete, Step-by-Step Setup guide. This level of control allows developers and system administrators to tailor the server’s runtime environment precisely to the needs of their applications, ensuring optimal performance and compatibility without waiting for a hosting support team to manually intervene.
It is vital to understand that VPS hosting is typically sold as a rented service from a specialized cloud or infrastructure provider, rather than as physical hardware you buy, assemble, and operate out of your own office or home. The physical server hardware—complete with enterprise-grade multi-core processors, lightning-fast NVMe storage arrays, and redundant power supplies—is housed in a secure, climate-controlled facility managed entirely by the hosting company. They handle physical hardware failures, drive replacements, and network switch maintenance. You, the subscriber, simply lease the virtualized container or virtual machine that runs on top of this physical infrastructure. This subscription model gives you all the power and flexibility of a dedicated machine at a fraction of the cost, without the headaches of hardware depreciation and data center upkeep.
During the initial setup and deployment phase, modern hosting providers give you granular control over the foundational parameters of your environment. Commonly, providers let users choose the operating system, the billing cycle, and the data center location right from their customer dashboard. Choosing the right operating system is critical because it dictates how you will interact with the server and what applications you can easily run. For instance, if you are planning to deploy standard web applications using WordPress, Node.js, Python, or PHP, you might lean toward a Linux distribution like Ubuntu, Debian, or AlmaLinux. Conversely, if your workload relies heavily on ASP.NET, Microsoft SQL Server, or remote desktop applications, you will need a Windows environment. To explore the nuances of choosing between these two major families, you can read more about Windows vs Linux VPS: Which OS Fits Your Workload? to make an informed decision based on your technical expertise and software requirements.
Key Setup Choices When Deploying a VPS
| Configuration Parameter | Common Options Available | Impact on Your Project |
|---|---|---|
| Operating System | Ubuntu, Debian, CentOS, AlmaLinux, Windows Server | Determines system commands, software compatibility, and licensing costs. |
| Billing Cycle | Monthly, Quarterly, Annually, Multi-year | Affects cash flow and often unlocks substantial long-term discounts. |
| Data Center Location | Frankfurt, New York, Singapore, Tokyo, London | Dictates network latency and proximity to your target audience. |
Equally important during this setup process is the choice of your billing cycle. Most providers offer flexible payment terms, allowing you to pay month-to-month for maximum agility, or commit to annual or multi-year terms to lock in steep introductory discounts. Selecting a longer billing cycle is a proven strategy for reducing overall overhead, especially for stable, long-term projects or production websites.
Finally, the physical data center location plays a massive role in user experience and website loading speeds. When you provision your virtual server, you should always select a region that is geographically closest to your primary audience. If your customers are predominantly located in Western Europe, deploying your VPS in a Frankfurt or London data center will minimize network latency and packet loss, resulting in significantly faster page rendering times. If you need step-by-step instructions on navigating these initial configuration screens, a How to set up a VPS: Beginner-Friendly Step-by-Step Guide can walk you through the user interface and dashboard options. By combining root access, customized operating system selection, and strategic geographic placement, a virtual private server empowers you to build a robust, high-performance digital presence tailored precisely to your operational demands.
Getting Started: First Access Workflow and Connection Basics
Once you have successfully purchased and provisioned your virtual private server, you will enter the initial deployment phase. For many beginners transitioning away from traditional shared hosting environments, this moment can feel both exciting and daunting because there is no graphical control panel waiting for you by default. Instead, you are greeted by an empty, text-based canvas. Understanding the standard first-access workflow is critical to bridging the gap between provisioning a raw machine and turning it into a fully functional, high-performance web hosting environment. Within a few minutes of your payment clearing and the automated server deployment completing, your hosting provider will dispatch a welcome email or populate a client area dashboard with the fundamental credentials needed to take control of your new digital asset.
A common first-access workflow for a VPS is receiving an IP address, root username, password, and often an SSH port after provisioning. Your IP address serves as the unique numerical identifier for your server on the global internet, functioning much like a street address for your home. The root username is invariably `root`, granting you absolute, unrestricted administrative privileges over the entire operating system. The accompanying initial password is typically a long, highly complex string of random alphanumeric characters and symbols generated by the system to prevent automated brute-force attacks during the first moments of life. While many modern providers also offer browser-based VNC consoles or emergency web-based terminals, you will quickly find that managing your infrastructure requires a dedicated remote connection protocol.
Beginners usually connect to a Linux VPS over SSH, often using port 22 by default. SSH, which stands for Secure Shell, is a cryptographic network protocol that enables secure communication between two computers over an unsecured network. To initiate this connection from a local machine running macOS or Linux, you simply open your native terminal application and type the connection command, which generally takes the form of `ssh root@your_server_ip`. If your provider has assigned a non-standard custom port for heightened security, you will append the port flag, such as `ssh root@your_server_ip -p 2222`. For users on Windows operating systems—which historically lacked a native command-line SSH client—third-party utilities like PuTTY or the built-in OpenSSH client inside modern Windows PowerShell are standard tools of the trade. If you are looking for a comprehensive visual walkthrough of this initial setup phase, you can consult a VPS Hosting Tutorial: How to Set Up a VPS Server For Your Website to see these exact command-line interactions performed in real time.
However, logging in with a root password over port 22 on day one is widely considered a major security vulnerability by systems administrators. Because automated botnets constantly scan the public IPv4 address space looking for open port 22 instances running weak passwords, your first-access workflow should immediately pivot into hardening your server environment. As outlined in many comprehensive beginner resources, such as Ben’s Workshop – How To Use a VPS and Host Your First Website on It (Beginner-Friendly Guide, establishing secure habits right at the start prevents catastrophic breaches down the road.
To execute these foundational security best practices, follow this recommended sequence immediately after your first successful login:
- Create a Non-Root User: Stop using the `root` account for everyday tasks. Create a new user with standard sudo privileges so that any accidental execution of destructive system commands cannot instantly wipe your operating system.
- Set Up SSH Key Authentication: Disable password-based logins entirely. Generate a secure public/private RSA or Ed25519 key pair on your local machine, and copy your public key to the server. This renders traditional brute-force password cracking completely ineffective.
- Change the Default SSH Port: Move your SSH daemon away from port 22 to a random high-numbered port (e.g., between 1024 and 65535) to drastically reduce log clutter caused by automated scanning scripts.
- Configure a Basic Firewall: Enable a utility like UFW (Uncomplicated Firewall) or Firewalld to block all incoming traffic by default, explicitly whitelisting only the ports required for your web traffic (like ports 80 and 443) and your new custom SSH port.
Once these baseline security configurations are finalized, your server transitions from an exposed, freshly provisioned container into a hardened, production-ready environment. Maintaining this level of vigilance requires ongoing oversight, especially as you begin deploying web applications, databases, and e-commerce storefronts. In fact, as your site grows and handles sensitive customer data, integrating specialized server management workflows becomes essential—such as implementing solutions detailed in guides on Best Server Monitoring Tools for E-Commerce in 2026 to keep tabs on resource consumption and potential intrusions. By mastering this initial access workflow, you lay a rock-solid foundation for everything that follows in your server administration journey.
Management Models: Understanding Unmanaged VPS Hosting
When venturing into the world of virtual private servers, one of the most critical decisions you will make revolves around the management model of your server package. Among the primary choices available to webmasters and developers is unmanaged VPS hosting. In an unmanaged hosting environment, unmanaged VPS hosting means the customer handles maintenance and administration, rather than the hosting provider. While this model offers unparalleled control, customization, and cost-efficiency, it fundamentally changes the operational responsibilities associated with maintaining a robust online presence. For beginners transitioning from shared hosting plans, understanding what this responsibility entails is vital before committing resources to a raw virtual server instance.
To fully grasp the reality of an unmanaged environment, it helps to look at what the provider actually supplies. Typically, when you purchase an unmanaged VPS, your hosting provider is strictly responsible for hardware uptime, network connectivity, power, and the virtualization layer itself—such as KVM or OpenVZ. If the physical data center loses power, or if the host node’s hardware fails, the provider fixes it. However, everything that happens inside your virtual operating system is entirely up to you. If a software package crashes, if a misconfigured firewall locks you out, or if a zero-day vulnerability compromises your database, the resolution falls squarely on your shoulders. This division of labor is starkly different from shared hosting or fully managed solutions where support teams handle daily administrative tasks on your behalf.
Core Operational Responsibilities in an Unmanaged Environment
Running an unmanaged VPS requires wearing the hat of a systems administrator. Without a provider to step in and fix day-to-day software issues, you must actively manage several critical domains:
- Software Updates and Patch Management: You are responsible for keeping the operating system (such as Ubuntu, Debian, or AlmaLinux) up to date. This includes applying kernel security patches, updating web server software like Nginx or Apache, and maintaining database engines such as MySQL or PostgreSQL. Ignoring these updates can expose your server to automated exploits and cyber attacks.
- Performance Monitoring and Optimization: Because resources are dedicated to you, you must monitor CPU utilization, RAM consumption, disk I/O, and network bandwidth usage. If your website slows down, you need to diagnose whether it is a traffic spike, a memory leak in your application code, or a misconfigured caching layer.
- Backups and Disaster Recovery: Unlike managed plans that often feature automated daily snapshots stored off-site, unmanaged VPS packages rarely include built-in backup solutions by default. You must configure cron jobs, write custom shell scripts, or integrate third-party backup storage services to ensure your data can be restored in the event of a catastrophic failure.
- Security Hardening: Out of the box, a fresh VPS instance is rarely secure. You must disable root password logins, configure SSH keys, set up a stateful firewall (such as UFW or Firewalld), install intrusion detection systems (like Fail2ban), and manage SSL/TLS certificates manually.
These tasks require a solid working knowledge of the Linux command line and networking fundamentals. If you are just starting out and prefer to focus purely on content creation or marketing rather than server administration, you might want to explore alternatives like Managed WordPress vs Self-Hosted Hosting for UK Online Stores to see how administrative burdens scale across different business models.
Deciding If You Are Ready for an Unmanaged VPS
Before selecting an unmanaged plan, beginners must perform an honest assessment of their technical capabilities and time constraints. If you have never used the command line, editing configuration files via terminal text editors like Nano or Vim can feel intimidating. A single typo in a network configuration file can sever your connection to the server entirely, leaving you with no recourse other than using the provider’s emergency VNC console to troubleshoot.
For those eager to learn, however, starting with an unmanaged server can be an incredible educational journey. Platforms offering visual guides, such as the Hostinger VPS Tutorial 2026: Step-by-Step Guide for Beginners, can help demystify the initial setup process, showing you how to connect via SSH and deploy your first web stack. Similarly, comprehensive walkthroughs like the Hostinger VPS Tutorial for Beginners — Full Setup Guide provide valuable visual context for navigating control panels if you choose to install one.
Ultimately, unmanaged VPS hosting is best suited for developers, system administrators, and tech-savvy business owners who demand absolute control over their environment and want to minimize hosting costs. If you lack the time to monitor security logs, perform routine updates, and troubleshoot system errors at 2:00 AM, a managed alternative—or utilizing a control panel designed to automate these administrative hurdles—will save you considerable stress and potential downtime.
Security Hardening and Common Beginner Mistakes to Avoid

Transitioning from shared web hosting to a Virtual Private Server represents a major milestone in your digital journey, granting you unprecedented root access, administrative control, and resource dedication. However, with this newfound power comes absolute responsibility for the safety and integrity of your environment. A frequent beginner mistake is treating a VPS like shared hosting and skipping security hardening, such as changing default credentials and setting up a firewall. On shared hosting platforms, security is entirely managed by the hosting provider behind the scenes. When you spin up a brand-new VPS instance, you are essentially handed the keys to an empty, unfortified house sitting on the public internet. Automated malicious scripts, botnets, and hackers constantly scan the IP ranges of major cloud providers, probing port numbers within minutes of a server’s deployment. If you leave default configurations untouched, your server can become compromised before you even finish installing your website application. Understanding how to properly fortify your environment is non-negotiable for anyone exploring what is VPS hosting and wanting to keep their online assets safe from malicious actors.
To prevent unauthorized access and establish a secure baseline immediately after deployment, you must execute several critical hardening steps before uploading any production code or sensitive data. The very first action you should take upon logging into your newly provisioned server via the default root account is to create a new, non-privileged user account with `sudo` privileges. Operating your daily administrative tasks directly through the root account is a dangerous practice because any accidental command or compromised application running with root privileges can instantly destroy your entire system. Once your standard user account is established, you should immediately disable direct root login via SSH (Secure Shell). By editing the SSH configuration file (`/etc/ssh/sshd_config`) to set `PermitRootLogin no`, you slam the front door shut on automated brute-force attacks that tirelessly hammer the `root` username across the global internet. Furthermore, you should disable password-based SSH authentication entirely and instead enforce the use of SSH cryptographic key pairs. Public-key authentication is exponentially more secure than any alphanumeric password because it relies on complex mathematical keys that cannot be guessed or cracked through modern computational brute-force methods.
Another foundational pillar of immediate VPS security is the implementation of a robust software firewall. Out of the box, your operating system may have all ports open or lack strict inbound filtering rules, leaving unnecessary services exposed to the public internet. Depending on your Linux distribution, tools like UFW (Uncomplicated Firewall) for Ubuntu/Debian or Firewalld for CentOS/RHEL allow you to explicitly define which network traffic is allowed to reach your server. As a best practice, you should adopt a policy of default-deny for all incoming connections, and then explicitly punch holes only for the specific services you intend to run. For a standard web server, this typically means allowing incoming traffic only on Port 22 (or your custom-configured SSH port), Port 80 for standard HTTP web traffic, and Port 443 for secure HTTPS traffic. If you are running an online store or handling user data, securing those web ports goes hand-in-hand with installing proper encryption, which you can learn more about in our guide on the Best SSL Certificates for E-Commerce in 2026: Which Type Do You Need?. Leaving database ports like MySQL (Port 3306) or PostgreSQL (Port 5432) exposed directly to the public internet is a catastrophic mistake that will inevitably lead to database hijacking and data extortion.
Beyond basic firewall rules and credential management, beginners often overlook the vital importance of intrusion prevention systems and automated software updates. Installing a tool like Fail2ban can drastically enhance your security posture by monitoring your server’s log files for malicious patterns, such as multiple failed login attempts from a specific IP address. When Fail2ban detects brute-force behavior, it automatically updates your firewall rules to temporarily or permanently ban the offending IP address, neutralizing the threat before it can cause harm. Additionally, operating systems and software packages frequently release security patches to address newly discovered zero-day vulnerabilities. Failing to keep your system updated means leaving known security holes wide open for attackers to exploit. You should establish a regular maintenance routine to apply security updates, or configure unattended upgrades for minor security patches so your system stays protected automatically.
To summarize the essential hardening checklist that every beginner should complete within the first hour of launching a new virtual server, review the following deployment guidelines:
- Create a Sudo User: Never perform daily tasks as the root user; establish a dedicated administrative account with sudo privileges.
- Disable Root SSH Access: Modify your SSH daemon configuration to block remote root logins completely.
- Implement SSH Key Authentication: Replace vulnerable text passwords with secure cryptographic key pairs for remote server access.
- Configure a Network Firewall: Enable UFW or Firewalld, block all incoming traffic by default, and open only necessary ports (e.g., 22, 80, 443).
- Install Fail2ban: Protect your authentication services from automated brute-force botnets and password-guessing scripts.
- Automate Security Updates: Ensure your operating system and web software receive timely security patches to mitigate newly discovered vulnerabilities.
By diligently following these foundational hardening steps, you transform your virtual server from a vulnerable target into a hardened, enterprise-grade hosting environment. Taking these precautions early ensures that your digital projects, websites, and applications remain shielded from malicious intrusion, giving you complete peace of mind as you leverage the full capabilities of your private infrastructure.
Sources
- What Is a VPS? A Beginner’s Guide to Virtual Private Servers
- VPS Explained In 2 Minutes
- What is VPS ? (2026) EXPLAINED in 5 minutes!
Need help choosing a hosting setup?
Our team reviews e-commerce infrastructure every day and can tell you what actually fits your traffic and budget.
Webmister Test Hosting — Kyiv
Mon-Fri 9:00-18:00


